|
|
|
|
The Export feature can be used to pull data from the Unanet database in a custom defined format. This may be particularly useful for feeding data to a downstream system. This feature can also be used for marking certain types of data as having been EXTRACTED (to help prevent sending the data downstream multiple times --- and also prevents further update of that data in the case of time and expense actuals).
All of the exports are available to users having the Administrator role, with certain exports available to other roles. See the List of Exports below for more information as to which other roles have access to specific exports.
Performance Tip Note: Depending on the number of users in your installation and other factors such as the overall performance of your platform, the activity of extracting data may take up to several minutes. Should this be the case with your installation, you may want to consider running this process at non-peak times to minimize database contention.
Topics covered on this help page include:
Creating or Modifying Templates (To learn more about creating or modifying a template, check out Working with Templates)
You may also be interested in:
Export Expressions (expression syntax and examples)
Working with Templates (adding new templates - exporting and importing)
Exporting to Quickbooks (You can download additional material from our Knowledge Center on this topic)
Exporting to Sympaq (Time using templates)
Integration Management Utility (facilitates with the automation of outbound interfaces)
Export - Knowledge Center Topics (search for this topic in the Knowledge Center)

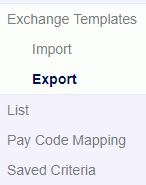
Exchange Templates >> Import -- Can be used to load a previously created template into the Unanet system.
Exchange Templates >> Export -- Can be used to email a copy of a template (for the purposes of loading it into another Unanet system).
List -- Presents a list of the existing templates. From this screen you can manage templates, add new templates and run exports.
Pay Code Mapping -- Used to map Unanet pay codes to an external pay code (which can be recognized in the export process).
Saved Selection Criteria -- View and manage list of saved export selection criteria.
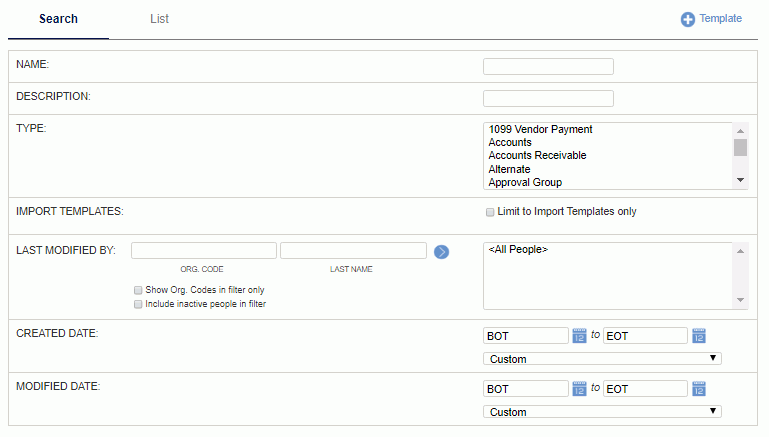
Upon clicking Export (under Exchange Templates) or List from the menu, you will be presented with the Search tab, with which you can specify selection criteria to narrow down your resulting list.

|
|
Once you have supplied the desired selection criteria, click on the List tab to display any matching templates.
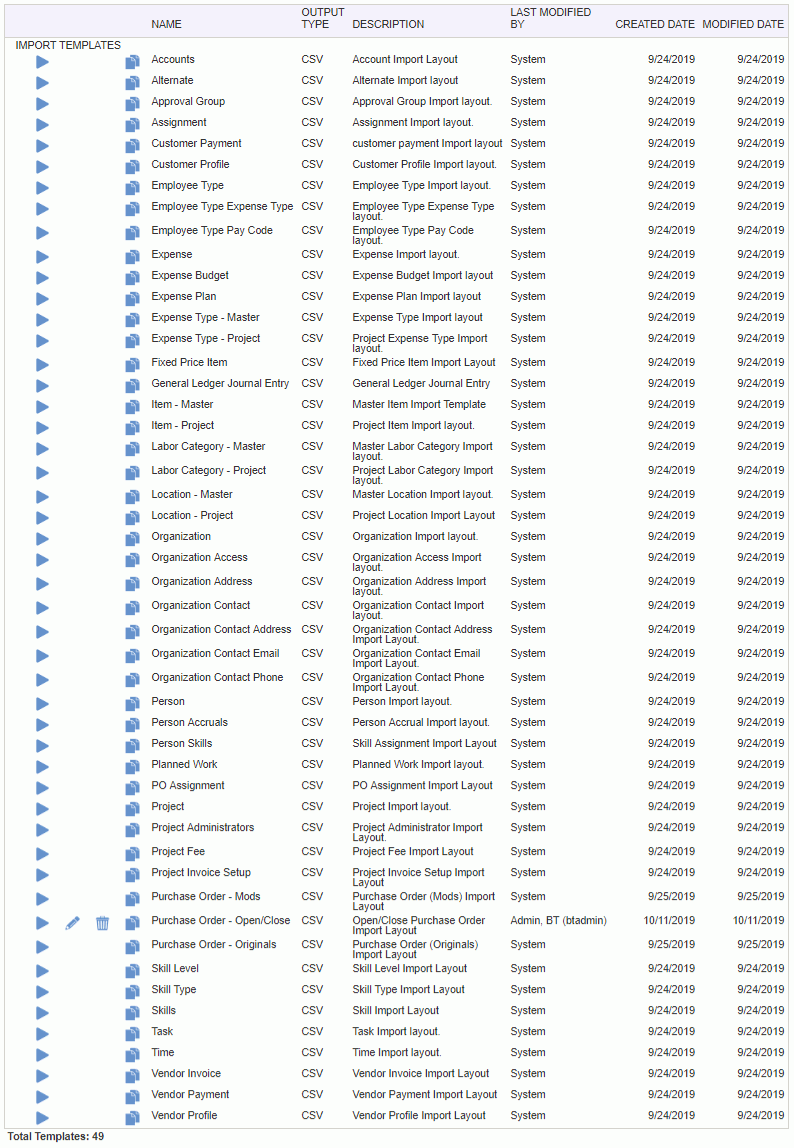
When you click export (or the List option), you are presented with a screen similar to the following example:

|
|
|
Once you are ready to run an export, click on the run icon (![]() ) next to the appropriate template. This will present you with a selection criteria screen to specify any additional information. Each type of import may have its own set of selection criteria.
) next to the appropriate template. This will present you with a selection criteria screen to specify any additional information. Each type of import may have its own set of selection criteria.
-- Administrator -- All of the exports are available to users having the Administrator role.
-- P&R Administrator -- With a few exceptions, all exports are available to users having the P&R Administrator role. Those exports where that role cannot access the feature will be marked with a double asterisk **.
-- HR Administrator -- A few other exports are accessible to the HR Administrator (noted in the list below with an appended (HR)).
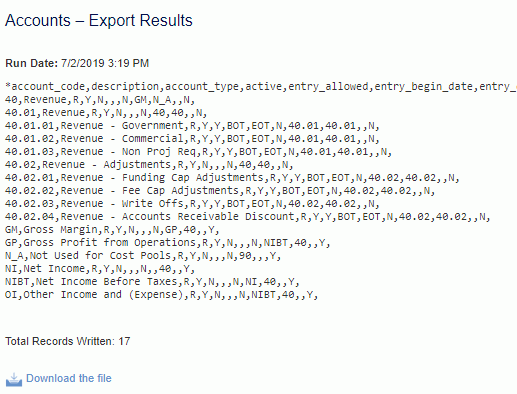
Click on the links below to see examples of each:
|
|
|
|
|
|
If you run certain export templates on a regular basis, you might be interested in saving the selection criteria used in conjunction with a particular template for future reuse.
Saving Selection Criteria
When running an export, once you have configured the selection criteria to your liking, you can click on the Save Criteria button located at the top and bottom of each selection criteria screen. Upon clicking this button, you will be prompted with a screen similar the to following, where you can enter your own custom name for the saved criteria.

Using Saved Selection Criteria
After you have saved a set of selection criteria, you will notice it is then available in the drop-down list of Saved Export which is located at the top of each selection criteria screen. The list of saved selection criteria included in the drop-down will be limited to those that apply to the type of template you are currently trying to run (e.g. Time, Expense, Project, etc). That is, when running a Time template, you will only see saved selection criteria that was related to the running of a Time template.

When you select a Saved Export from the drop-down list, the screen is refreshed with all fields populated as they were originally saved.
Deleting or Renaming Saved Selection Criteria
To delete or rename a saved export criteria, you can navigate to the Saved Criteria left menu link on the Admin >> Export screen. The only options you have on this screen are to delete or rename an existing saved criteria entry. For your convenience, the type of template and the name and time of the last update is also displayed.

Note that saved export criteria is available for use by any Administrator or HR Administrator that has access to a particular type of template.
You will notice on each of the export selection criteria screens several fields that can be used to help direct the output, including:
Note: if the filename does not contain a fully qualified path, the file will be written to the temp directory as defined by the Temp Directory (Fully Qualified Directory Name) (unanet.temp_directory) property. If that property has not been set, then the file will be written to the current working directory as defined by your Servlet Engine installation.
In addition to these two options, you will also have the option of downloading and saving the output to a local destination. On the export results screen, you will notice a link at the bottom that reads Download the file. You can click on this link to save the file to a local destination.

To learn more about creating or modifying a template, check out Working with Templates.